The author is a forage and livestock products specialist for Sydenstricker Nobbe partners dealership group in central and northeast Missouri.
As is often the case when I sit in the office on a windy, cold winter day, I work on my to-do list. I have several such lists that I’ve crafted over the winter, and I don’t think I have ever fully completed one. I simply add the remaining tasks to the next list.
One of the first things that makes the list after this winter weather breaks is cutting our winter forage and first-cut hay. When I think about cutting hay, nothing comes to my mind quicker than the Lynyrd Skynyrd song “That Smell.” Anyone in the hay business knows the smell of fresh-cut hay. Of course, there are sometimes problem smells in the field as well — those coming from a bearing failure or some other mechanical problem.
One thing that often gets overlooked before we can smell that smell of curing forage is winter or preseason maintenance on the hay mower. The mower, for some reason, often gets overlooked in the hay equipment tools lineup even though it gets pulled and abused over more acres than anything else in the haymaking equipment portfolio. For this reason, the mower needs to be put on your to-do list and addressed before equipment hits the field.
Do-it-yourself guidance
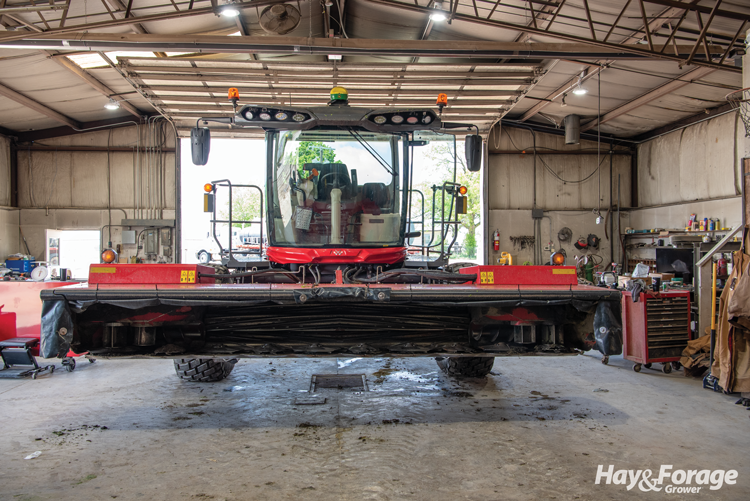
Most equipment dealers, along with their respective manufacturers, will run some kind of winter service/maintenance specials on all types of hay equipment, and if you go through your local dealer for this service, they usually run some kind of bonus for the customer such as free pickup and delivery, discounted parts, or some other perk. If you choose not to use that service from your local dealer, I will list my top 10 points — in no particular order — that I like to look over before hitting the field to smell that smell.
- Driveline power take-off (PTO): Inspect and grease all U-joints and carrier bearings, depending on what type of mower you have. Inspect the U-joint yokes where they might have hit and caused a crack or other damage. A broken driveshaft is frustrating to replace in the field when it’s time to make hay.
- Hydraulic hoses: Scan and observe all hoses for wear or places where they might have been rubbing on a hood or shield, creating a thin spot that could cause a blowout when under pressure.
- Gearboxes: Check all gearboxes for oil/fluid levels and observe the color. An abnormal color could indicate something is wrong that you can’t see with the naked eye.
- Bearing modules: Rotate the cutterbar by hand and look and listen for any excess play. Feel for rough spots. Also, a light pry-up motion from the bottom side of the disc with a little pressure will reveal some up-and-down play in the module. This could lead to potential bearing failure.
- Blades: In my opinion, don’t even inspect them. Just start the season with a new set. Remember, when buying blades, you get what you pay for, and in today’s world with many blade manufacturers, some will wear quicker than others.
- Cutterbar: Inspect the top, bottom, and sides of the cutterbar for any excess wear that could cause oil to leak out or some other problem during the season.
- Conditioner: If your mower is equipped with an impeller conditioner, look it over for broken tines. Rubber roll conditioners are subject to wear, which will cause a vibration from being out of balance. This situation will make for challenging times in the future if not repaired properly.
- Skid shoes: These are the most abused pieces on the mower. Check that both sides are in the same position and neither is broken or wore past repair. This will cause drag and friction that will result in an uneven cut height or leave bare spots that will allow for an undesirable summer annual weed to establish.
- Tires: If you have a pull-type mower, inspect for any wear or missing tread. Even a bump on a rim where a culvert was in the wrong place at the field edge could cause a slow leak and lead to downtime.
- Electrical wiring: Check that all electrical wires and plugs are fault-free and working so that safety lights function properly. Pulling a hay mower down the road is a high-risk situation, and on the road, safety is the top concern.
There will arguably be more points that you will notice once you start to do your preseason mower inspection, but these are my top 10 to get you started and head to the field to smell that smell. Here’s to hoping you are blessed with plenty of moisture for the upcoming spring season — and be safe. •
This article appeared in the March 2026 issue of Hay & Forage Grower on page 5.
Not a subscriber? Click to get the print magazine.